
We may earn money or products from the companies mentioned in this post.
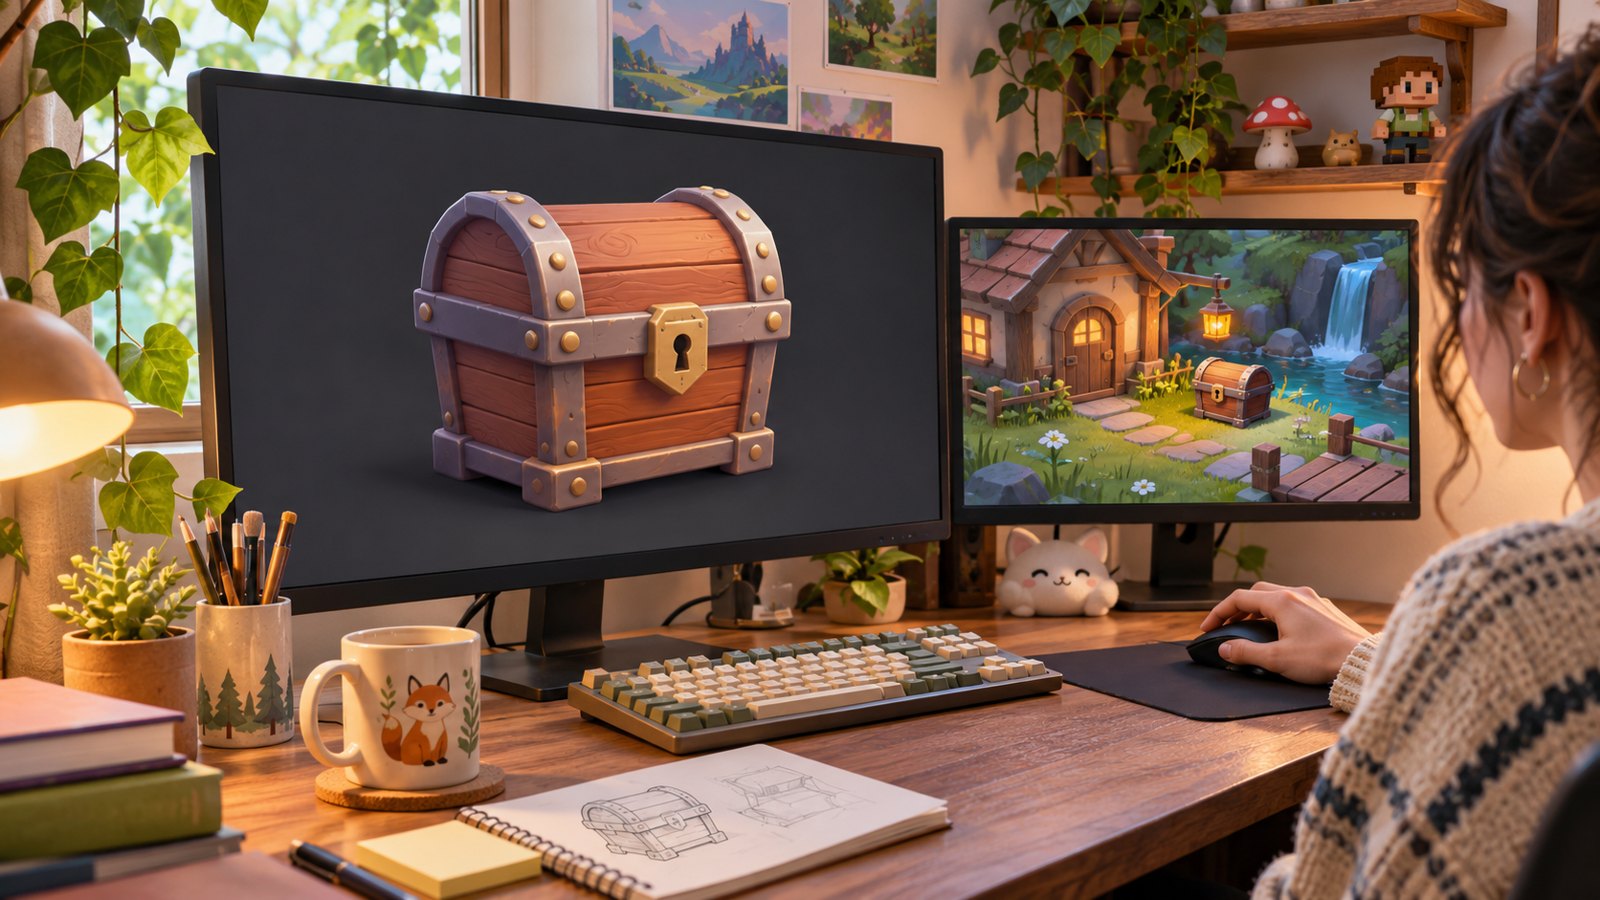
A 3D chest can look convincing in a preview and still be awkward to use in your game: too much geometry, missing textures, or a scale that makes it larger than the room. This Meshy review asks whether it helps a beginner get past that gap, from an idea to a usable first prop.
Our verdict: Meshy is worth exploring for simple props and prototypes, provided you treat generation as the start of an asset workflow. Start with one small object and budget for exporting, inspection and cleanup before building an entire inventory.
Quick verdict: Best for prototype props, placeholders and visual exploration. Less suitable when you need exact dimensions, dependable moving parts or finished production assets without inspection. Try the free interface first, but check download eligibility for the specific model you generate.
Review method: this is an editorial assessment of Meshy’s official documentation checked November 2, 2026. We have not run a hands-on asset benchmark. The original images illustrate the workflow and are not Meshy-generated output samples or screenshots.
What Meshy does for a first game
Meshy turns text or reference images into 3D models, with tools for texturing, remeshing and, for suitable characters, rigging and animation. Its documentation hub covers browser workflows as well as integrations and an API. A non-coder can begin in the web app rather than setting up an automated pipeline.
For this review, our recommended starting point is a static chest, barrel or rock. That gives you a manageable way to learn the handoff into a game. For a broader view of image and asset tools, see our AI game art tools guide.
Text to 3D or Image to 3D?
| Your starting point | Route to try | What to inspect |
|---|---|---|
| An idea without reference art | Text to 3D | Whether the shape and style match what you meant |
| A clear sketch or concept image | Image to 3D | Hidden sides, thickness and details the image cannot show |
| Several views of the same object | Multi-view, if included in your plan | Whether all views describe the same geometry |
Meshy’s method comparison distinguishes open-ended text exploration from reference-led generation. Our beginner preference is a clean image when you already know the look you want. That is an editorial starting point, not a measured quality advantage from our own testing.
Its reference-image guidance recommends a single complete subject, a clean background, and a front or three-quarter view. For example, use one chest rather than a busy room containing ten objects. A reference image cannot guarantee the unseen back or inside will be reconstructed as intended.

A practical first-prop workflow
- Define one job. Choose a static object and decide whether it is background decoration, a pickup, or something the player opens. For an opening chest, a good-looking single mesh alone will not establish a working lid.
- Generate a candidate. Use a prompt or your own reference image in Meshy’s creation workflow. Rotate the preview and inspect every side before spending time polishing it.
- Check geometry. Meshy’s Remesh tool offers fixed and adaptive face-count targets. Reduce unnecessary geometry where appropriate, then compare the new silhouette and small details with the original. Available controls depend on your plan.
- Check the surface. Look for stretched details, seams and materials that read poorly at the intended camera distance. A glossy preview under studio lighting is only one viewing condition.
- Export and test. Import the downloaded model into a tiny test scene. Set scale and collisions, check materials under your scene lighting, and judge the prop at actual gameplay distance.
That sequence is deliberately narrower than building a whole game. Our Claude and Godot prototype case study is a useful companion when moving from assets to playable behavior.
Which export format should you use?
| Destination | Documented option | Practical consideration |
|---|---|---|
| Unity or Unreal | FBX | Keep associated textures with the model and check materials after import |
| Web or Three.js | GLB | Textures are embedded in one file |
| Further work in Blender | BLEND, GLB or FBX | Choose according to the editing handoff |
| Older tools or a simple mesh exchange | OBJ | Expect separate textures and fewer advanced features |
These choices follow Meshy’s official export guide. It also lists USDZ, STL, 3MF and DXF for other uses. If an imported model appears white, the guide recommends checking texture links; GLB can simplify packaging because it embeds textures. A supported format still needs a real import check in your project.
What “game-ready” should mean
For a first static prop, our acceptance checklist is simple: it imports, looks right at the intended distance, sits at the right scale, has suitable collisions and fits your scene’s performance budget. These are suggested production checks, not results we measured for Meshy.
- Shape: inspect holes, unwanted protrusions and the underside.
- Scale and pivot: make sure placement and rotation behave sensibly.
- Materials: inspect the texture and lighting response in the engine.
- Collision: test what the player can walk through, stand on or pick up.
- Performance: evaluate the scene with the number of copies you expect to use.
Rigging is a separate concern for characters that need skeletal motion. A static barrel does not need a humanoid rig. Precise hinges, deformation and animation deserve additional checks rather than an assumption that any generated mesh will work.

Can it help you build a matching set?
Meshy’s game-assets guide describes using 3D Agent to explore a shared art direction, select concepts and turn them into models. This is relevant when you need a chest, lantern and barrel that belong in the same world.
We would approve one prop first, then reuse its palette, proportions and material direction as a small art brief. Compare the next three assets together in your game. A batch feature can help organize creation, but we have not measured its visual consistency or the cleanup time it saves.
Pricing: generation credits and downloads are different
Meshy’s individual-plan comparison, read November 2, lists the following standard monthly prices in USD. Offers, taxes and billing choices can change the amount you pay; check the live pricing page before subscribing.
| Plan | Listed monthly price | Listed monthly credits |
|---|---|---|
| Free | $0 | 100 |
| Pro | $20 | 1,000 |
| Premium | $40 | 3,000 |
| Ultra | $100 | 8,000 |
The important catch is downloading. Meshy’s more specific download help article says Free includes 10 monthly downloads of untextured Meshy 6 Lite models. It excludes textured models, 3D Agent models and listed newer-model outputs. Buying credits alone does not unlock those downloads.
The general plan table says no Free downloads, while the specific help article describes the limited Lite allowance. We therefore would not promise a free textured prop for your game. Check the selected model and its Download panel before committing to the workflow.
Track rejected attempts as well as keepers. Meshy’s credit-cost guide separates generation, texturing and other tasks and says the current in-app cost is authoritative. Our recommendation is to price one completed, imported prop, not divide a monthly credit allowance by a headline generation cost.
Commercial use: check your output’s license
Meshy’s terms make Free outputs available under CC BY 4.0 with appropriate attribution. Its ownership explanation describes private ownership for paid-plan assets when kept private and created from material that does not violate others’ rights.
Keep a record of the plan, source image and applicable terms for assets you intend to ship. A platform license does not resolve rights in a character or reference image you do not own. If private ownership matters, review what changes when you publish an asset to the Meshy Community.
Pros and cons for beginners
| Reasons to consider it | Tradeoffs to accept |
|---|---|
| Text and image routes reduce the need to begin every object by hand | A convincing preview does not establish a usable final asset |
| Remeshing and texturing are part of the documented workflow | You still need to inspect geometry, materials and scale |
| Common export formats support a conventional production handoff | Download eligibility depends on the model and plan |
| 3D Agent provides a way to organize related concepts | Consistency and cost per usable asset need your own testing |
When to use manual modeling instead
Choose a conventional modeling workflow, such as Blender, when exact geometry, clean separate moving parts or deliberate topology is central to the object. Meshy can still supply a starting concept, but a model that needs extensive repair may cost more effort than a deliberately simple object you build yourself.
Our recommendation for a non-coder is to start with a decorative static prop. Leave the animated hero, complicated machinery and production inventory until you understand what the first import requires.
Final verdict: start with one useful object
Meshy looks like a practical option for exploring first-game props because its documented workflow includes more than generation: you can adjust geometry, texture and export. The purchase decision should turn on whether one acceptable asset reaches your engine with an amount of correction you can manage.
- Pick one simple static prop.
- Choose the generation route and confirm download access.
- Inspect all sides and optimize only as needed.
- Import it and test materials, scale and collisions.
- Expand to a small set only after the first prop works.
Research checked November 2, 2026. Features, model access, prices and download rules can change. Sources are Meshy’s official documentation and help pages linked throughout.